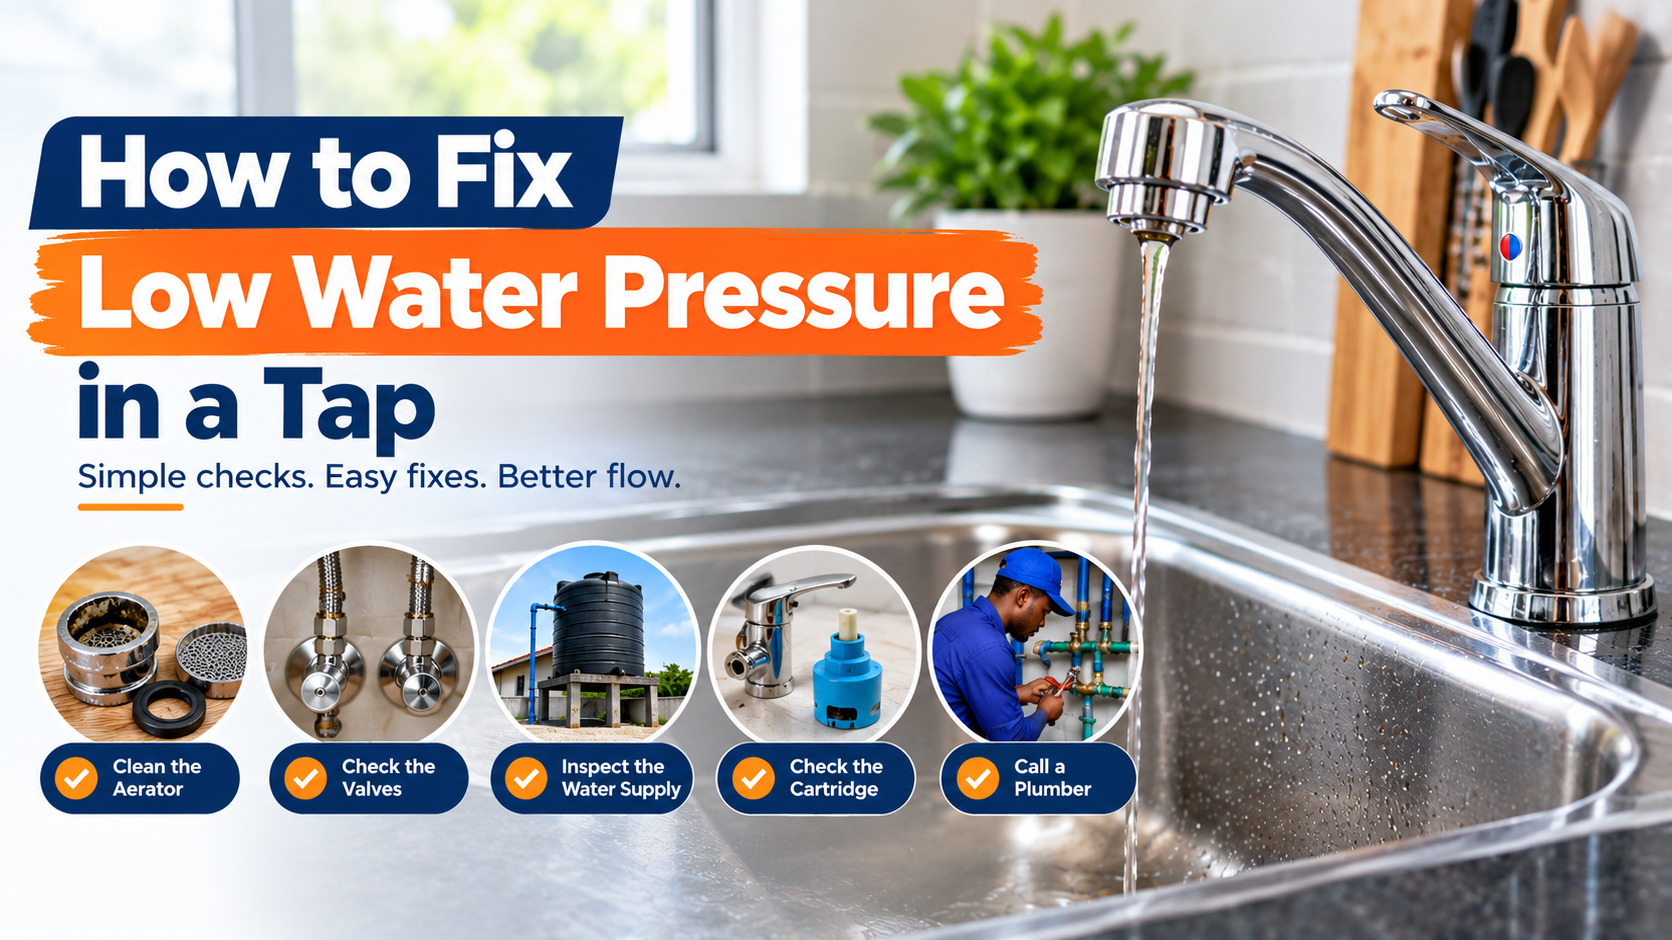
Low water pressure from a tap is one of the most common household plumbing complaints, and it can make simple jobs like washing up or filling a bucket take much longer than they should. The good news is that the cause is often small and easy to check. In many cases, the problem is a clogged aerator at the tip of the tap, a partly closed valve, or a supply issue that is not related to the tap at all.
This guide walks you through how to find the cause, which fixes you can try safely, and when a weak flow means you need a plumber. Most of the checks take less than 30 minutes and need only basic tools.
First, Work Out the Scope of the Problem
Before you take anything apart, find out how widespread the issue is. This one check saves a lot of time.
- One tap is weak, but others are fine. The cause is almost certainly local to that tap. Start with the aerator and the isolating valve for that fitting.
- Both hot and cold taps in one spot are weak. The problem may be the shared pipe, a partly closed valve on the main line, or a blocked strainer upstream.
- Every tap in the house is weak. The cause is usually the supply: a low overhead tank, a pump problem, or a shared supply issue in the neighbourhood.
- Only the hot tap is weak. Check the water heater, its inlet valve, and any filter on the hot line.
Turn on another tap in the house, then run the weak tap at the same time. If the flow drops further when both are open, the supply is limited, not the tap.
Common Causes of Low Water Pressure in a Tap
Most low-pressure problems fall into one of these groups:
- A clogged aerator. The small mesh screen at the tip of the tap collects grit, rust, and limescale. It is the most common cause and the cheapest to fix.
- A partly closed isolating valve. A valve under the sink or on the pipe may be only partly open, often after maintenance or a repair.
- Sediment in the pipes. Rust and debris from older pipework can build up and restrict flow, especially after a supply interruption.
- A worn mixer cartridge. On single-lever mixer taps, a worn cartridge can reduce flow even when the valves look open.
- A low water supply. An overhead tank that is almost empty, a faulty pump, or a blocked inlet filter can reduce pressure across the house.
- A faulty pressure regulator. Some homes have a regulator on the main supply. If it has failed or is set too low, pressure drops across every outlet.
Tools You May Need
You do not need much for these checks. Gather these before you start:
- A cloth or rag to protect the tap finish
- An adjustable spanner or pliers, wrapped in cloth
- A small brush or old toothbrush
- A bucket and towel to catch water
- Rubber gloves
- A small container of white vinegar, if you need to descale the aerator
Check your local hardware shop before buying anything. Replacement aerators and valves are usually inexpensive, but prices vary by area and brand, so confirm the cost before you buy.
Step 1: Clean the Aerator
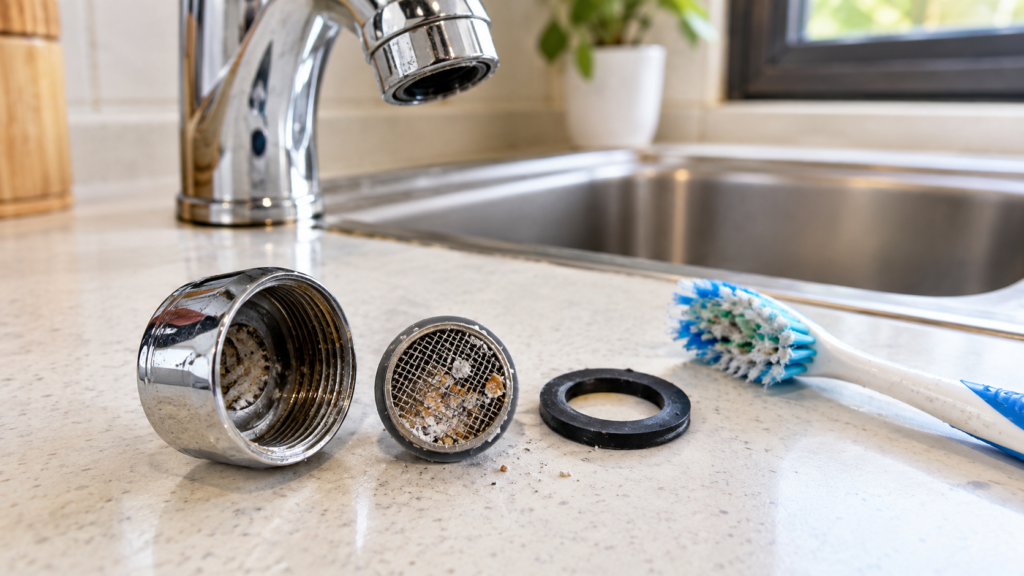
Mineral deposits and debris can block a tap aerator and reduce water flow.The aerator is the easiest place to start, and it often solves the problem on its own.
- Unscrew the aerator from the tip of the tap. Most unscrew by hand. If it is stuck, wrap a cloth around it and turn gently with pliers.
- Look at the mesh and the washer. Check for grit, rust flakes, or a build-up of white limescale.
- Rinse it under running water, brushing away debris with an old toothbrush.
- Soak it in white vinegar for 20 to 30 minutes if there is limescale. Rinse thoroughly afterwards.
- Refit the aerator by hand, then tighten it gently. Do not over tighten.
- Run the tap and check the flow.
If the flow improves, the job is done. If the flow is still weak, move on to the next check.
Step 2: Check the Isolating Valves
Find the isolating valves on the supply pipes under the sink. These are usually small chrome or brass handles on the pipes that feed the tap.
- Turn each valve fully anticlockwise to open it. Do not force it past its stop.
- Check whether either valve is partly closed. A valve that is only partly open can restrict flow without looking closed.
- Run the tap and see whether the flow improves.
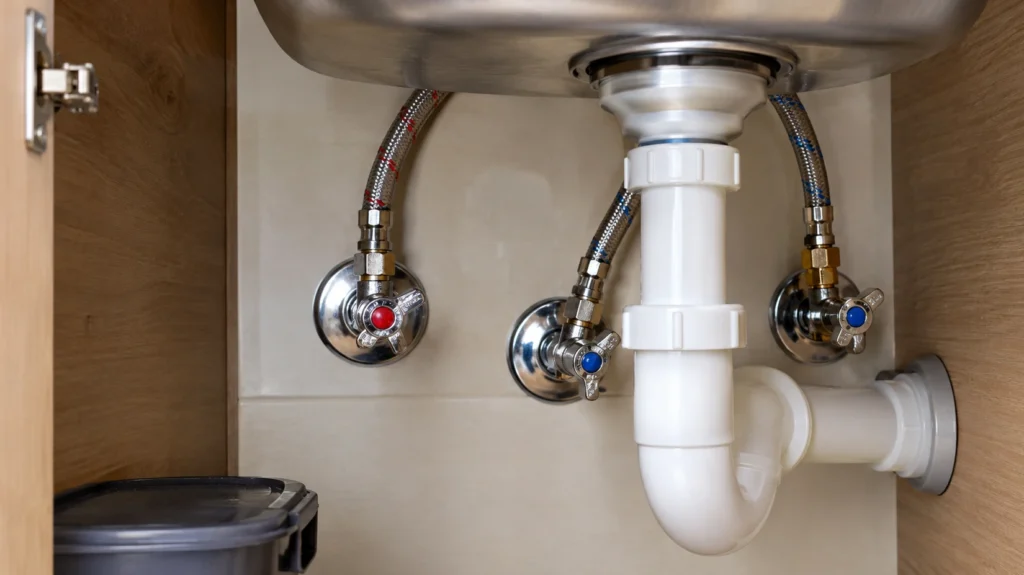
The isolation valves beneath a sink control the water supply to the tap.If a valve is stiff, do not force it. Stiff valves can damage the pipe. Turn it gently back and forth a few times, or call a plumber if it will not move.
Step 3: Flush the
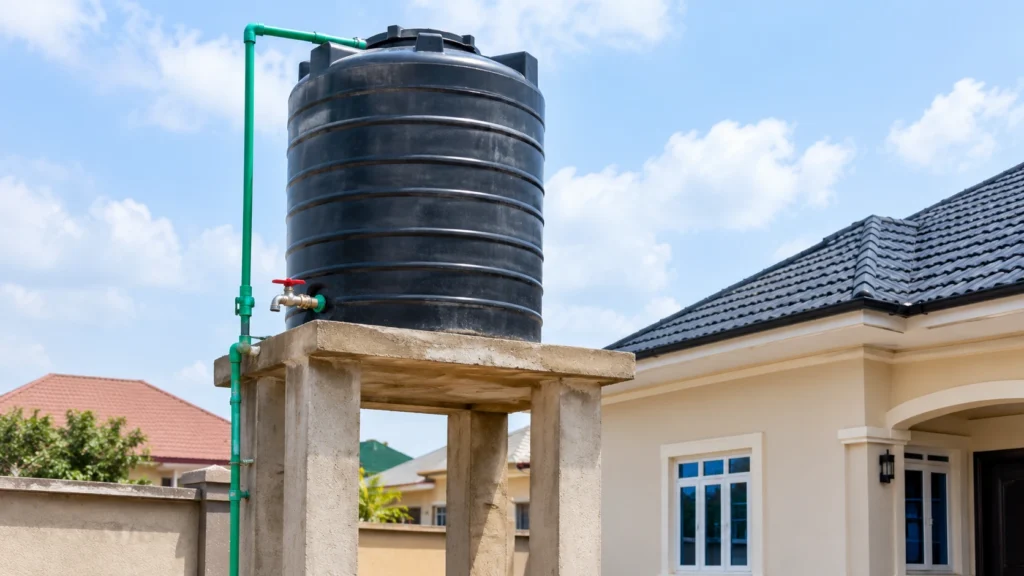
An elevated water storage tank supplies water to a home's plumbing system.Sediment can build up in the supply line and restrict flow, particularly in older homes.
- Remove the aerator, as in Step 1.
- Run the tap at full flow for two to three minutes.
- Watch the water. Cloudy or rusty water shows sediment is present.
- Refit the aerator once the water runs clear.
If the water stays cloudy after flushing for several minutes, the problem may be in the main supply or the storage tank. Check the tank next.
Step 4: Check the Water Supply
If the problem affects every tap, check the source.
- Overhead tank: Look at the water level. A tank that is nearly empty will reduce pressure across the house. Refill it, then test the taps again.
- Pump: If your home uses a pump, check whether it is running and whether the pressure switch is working. A pump that cycles on and off frequently can point to a leak or a faulty pressure switch.
- Inlet filter or strainer: Many homes have a filter on the main supply. A blocked filter reduces flow to the whole house. Clean it according to the manufacturer’s instructions.
- Shared supply: Ask neighbours whether they have the same problem. Interruptions or low supply from the utility can affect many homes at once.
Do not work on the main supply, the pump’s electrical connections, or the pressure regulator yourself. Call a plumber or electrician for those.
Step 5: Check the Mixer Cartridge (Single-Lever Taps)
If the tap is a single-lever mixer, a worn cartridge can restrict flow.
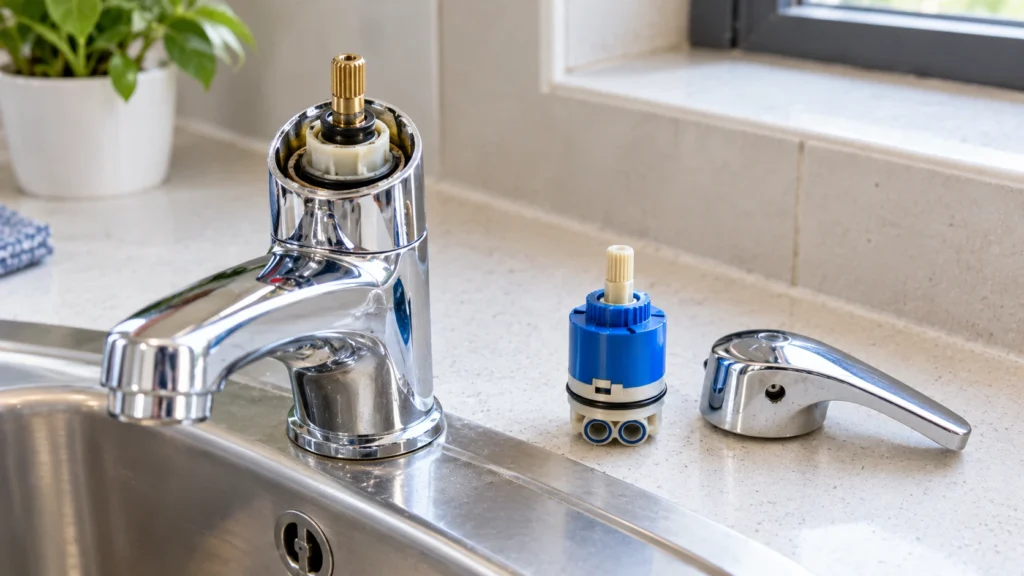
- Test both hot and cold separately. If only one side is weak, the cartridge may be the cause.
- Check for dripping or stiffness when you move the lever.
- Replace the cartridge if it is worn. Buy a replacement that matches the tap’s make and model, and take the old cartridge with you to the shop.
Cartridge replacement is manageable for many people, but if the tap is concealed in the wall or the fitting is unfamiliar, call a plumber.
When to Call a Plumber
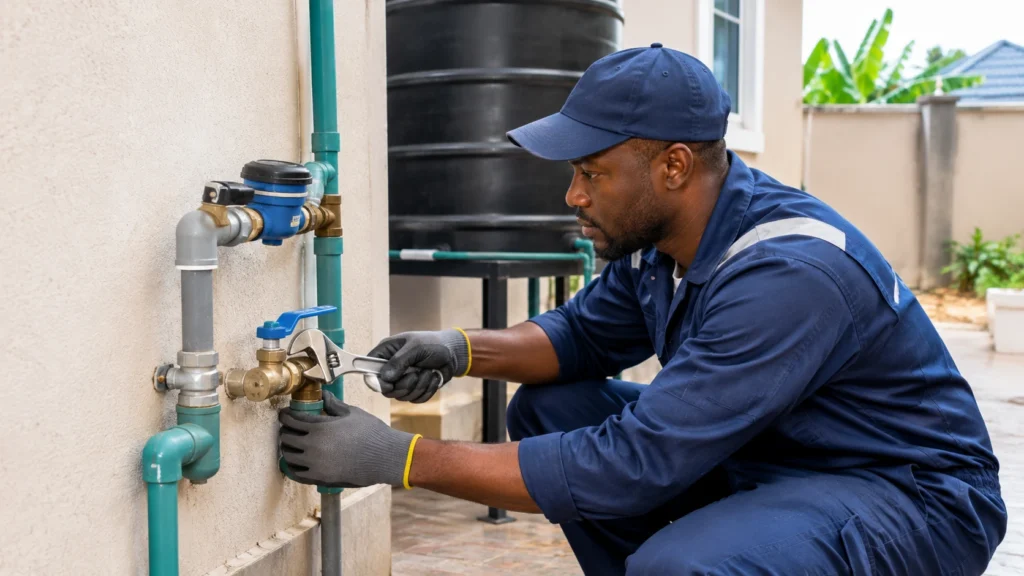
Call a plumber if:
- Pressure is low across the whole house, and the tank and filter checks have not helped
- You suspect a leak in the pipework, or you see water stains on walls or floors
- The isolating valves are stuck, damaged, or leaking
- The pump runs constantly or cycles on and off repeatedly
- You are not comfortable working on the supply, the pump, or a concealed fitting
A plumber can measure the pressure, check the pipework for corrosion, and recommend a permanent fix if the problem keeps returning.
How to Prevent Low Water Pressure
A few simple habits will keep flow strong:
- Clean the aerator every few months, especially in areas with hard water.
- Keep the overhead tank topped up, and check the level regularly.
- Clean the inlet filter on the main supply according to the manufacturer’s schedule.
- Check the isolating valves after any plumbing work to make sure they are fully open.
- Descale fixtures with vinegar if you notice white deposits building up.
Costs and Time
Most of these checks take 15 to 30 minutes. A new aerator or a set of isolating valves is usually inexpensive, but a replacement cartridge or pump repair costs more. Check local prices before buying, and compare with a plumber’s quote if the problem turns out to be in the supply rather than the tap.
Final Thoughts
Low water pressure from a tap is often caused by something simple, like a clogged aerator or a valve that is not fully open. Start with the scope of the problem, then clean the aerator, check the isolating valves, and flush the pipes. If every tap in the house is affected, look at the water supply before you touch the tap itself. Keep the aerator clean and the tank topped up, and you should avoid most low-pressure problems in the future.