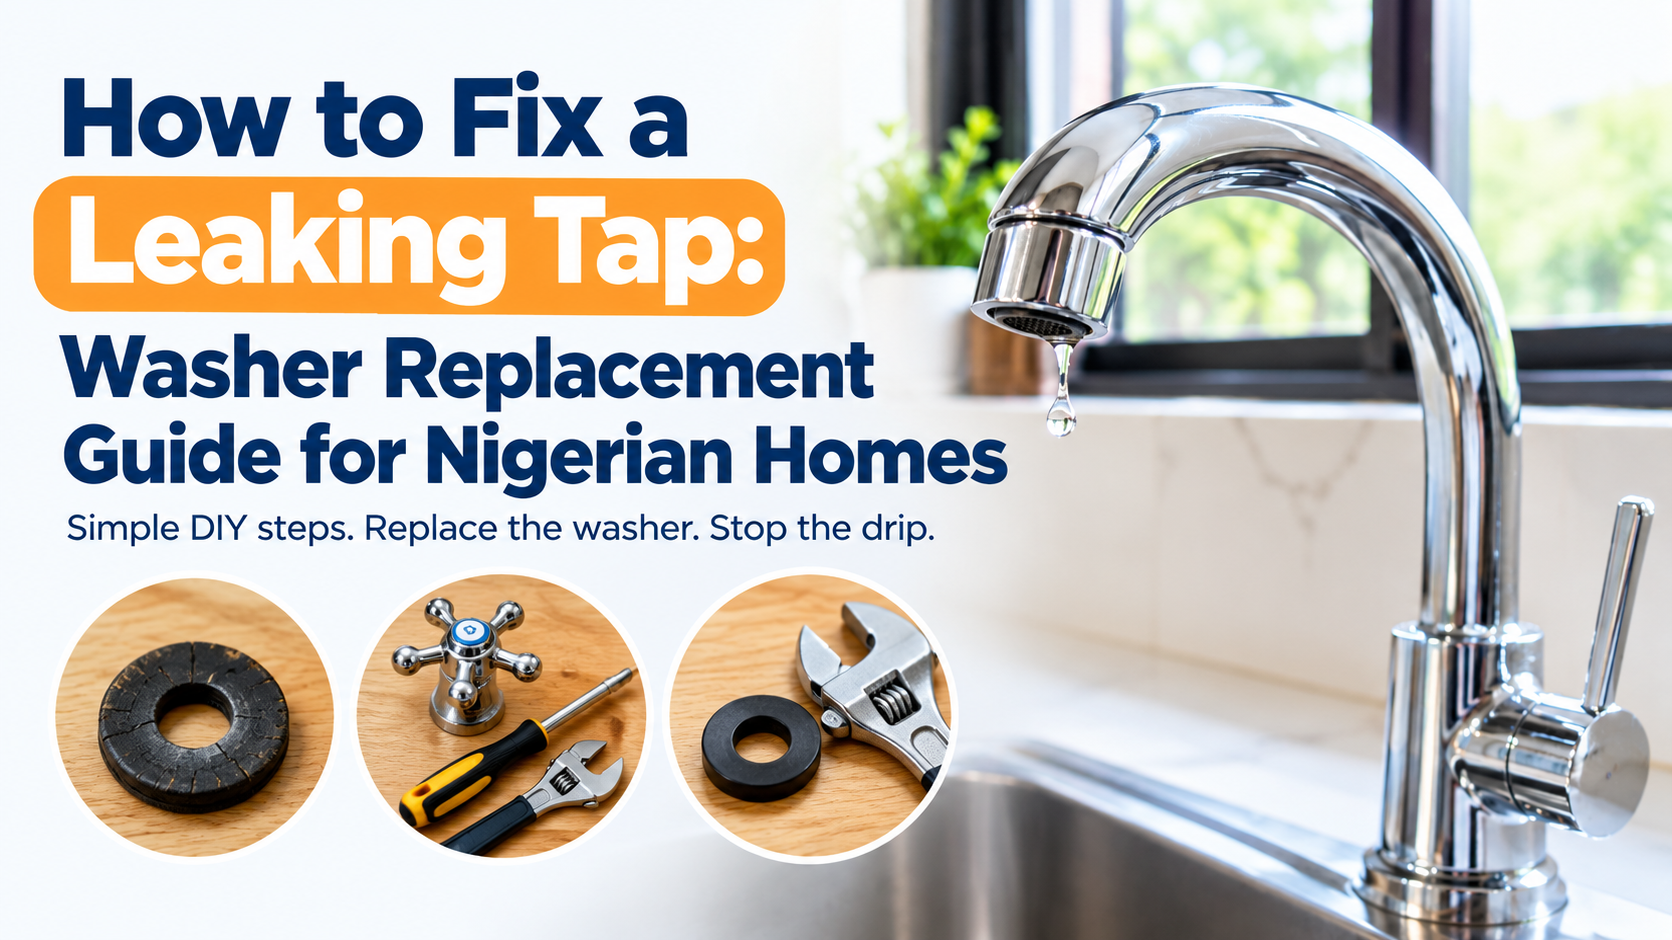
Knowing how to fix a leaking tap can help you save water and avoid an unnecessary plumbing bill. In many Nigerian homes, where water may come from overhead tanks or tanker deliveries, a dripping tap can be particularly frustrating. If you have a traditional compression tap, a worn rubber washer may be the cause, and replacing it can be a manageable DIY repair.
Before You Start: Confirm It’s a Washer Problem
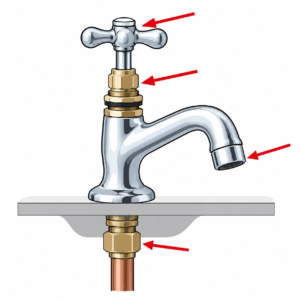
Not every leak is a washer. Spend two minutes checking first.
Test 1: Where is the water coming from?
- From the spout when the tap is closed: This is almost always a worn washer or a damaged valve seat.
- From around the handle or the top of the tap: This is usually a worn O-ring or a loose gland nut, not the washer.
- From under the sink or at the pipe joints: This is a pipe or connection leak. Replacing a washer won’t fix it.
Test 2: Does the drip get worse over time?
A washer that’s slowly wearing out usually starts as a slow drip and gets faster. A sudden, heavy leak usually means the seat is damaged or the tap has cracked.
Test 3: What type of tap do you have?
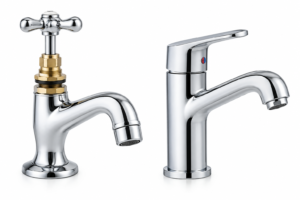
Turn the handle. If you have to turn it several times (usually 3 to 5 full turns) to shut off the water, you have a compression tap. This guide covers that type. If it’s a single lever that turns a quarter-turn or less, you likely have a cartridge tap. Replacing the cartridge is usually the better fix, and it’s a different job.
Tools and Parts You Need
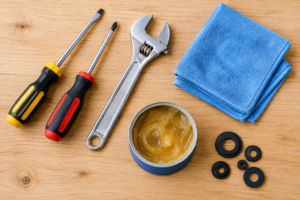
- A flat-head screwdriver and a Phillips screwdriver
- An adjustable spanner, about 150 to 200 mm. A Stillson wrench is also common in Nigerian hardware shops and works well here
- A small cloth or rag to protect the chrome from scratches
- A bucket or old towel to catch water
- Fine sandpaper or emery cloth (around 400 grit)
- Silicone plumber’s grease compatible with the tap’s seals, if required.
Parts (around ₦200 to ₦800 for a washer, depending on size):
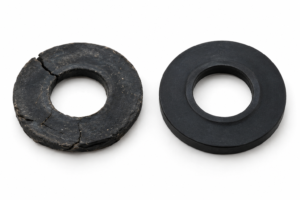
- Replacement washers, matched to your tap. Buy two or three of the same size, since you’ll likely need a spare
- A replacement O-ring if your tap has one. Take the old one with you
- Optional: a replacement valve seat, if the old one is badly pitted
How to buy the right washer:
Take the old washer to the shop and match it exactly. Washers come in different diameters and thicknesses, and a mismatched one will leak within days. Ask for “tap washer” or “compression washer,” and say the tap is a compression type. Many Nigerian hardware shops keep a tray of washer sizes, so you can test-fit the new one before you pay.
Step 1: Shut Off the Water Supply
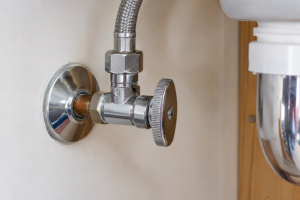
Find the isolating valve on the pipe under the sink, usually a small chrome or brass valve with a handle. Turn it clockwise until it stops.
If the sink has no isolating valve, you’ll need to turn off the water at the source. In many Nigerian homes this is the overhead tank outlet valve, the pump switch, or the main stopcock near the water meter. If you’re not sure, ask a neighbour or the landlord before you start.
Once the water is off, open the tap to release any water left in the pipe. Keep the tap open until the flow stops completely.
Step 2: Remove the Handle
Most handles have a decorative cap on top. Gently pry it off with a flat-head screwdriver, with a cloth wrapped around the tip so the chrome doesn’t scratch. Under the cap is a screw. Remove it with the Phillips screwdriver, then lift the handle off.
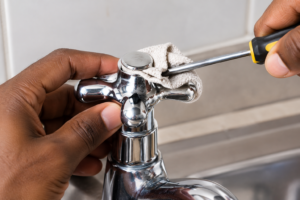
If the handle is stuck, do not force it. Try gently moving it while lifting. If it remains stuck, use a suitable penetrating product according to its instructions, ensuring it is safe for the tap’s finish and surrounding materials. If the handle still will not move, consider calling a plumber.
Step 3: Remove the Headgear
Under the handle is the headgear, a metal cap that holds the valve stem in place. Wrap the adjustable spanner in cloth so it doesn’t mark the metal. Turn the headgear counterclockwise. Support the tap body with your other hand so you don’t twist the pipe.
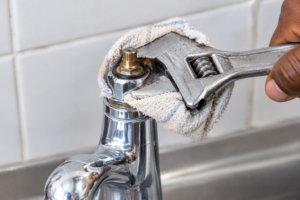
Once it’s loose, lift out the valve stem. At the bottom of the stem you’ll see the washer, held in place by a small brass screw or nut.
Tip: Lay the parts out on a cloth in the order you remove them. This makes reassembly much easier.
Step 4: Replace the Washer
Undo the screw or nut that holds the washer. Slide the old washer off and compare it to the new one. The new washer should match in diameter and thickness.
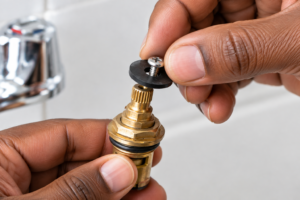
Fit the new washer in the same position. Tighten the screw gently. Over-tightening can crack a rubber washer and cause a leak within days.
Step 5: Check the Valve Seat
The valve seat is the metal ring inside the tap body, where the washer presses to stop the flow. Even a new washer won’t seal properly against a rough, pitted, or corroded seat.
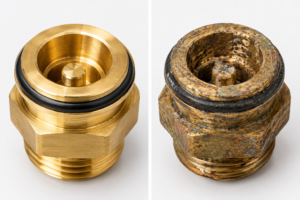
Inspect the valve seat carefully. If it is smooth and undamaged, leave it alone. If there are minor deposits, clean it gently using a method suitable for the tap’s material. A deeply pitted, cracked, loose, or badly corroded seat may need specialist repair or replacement.
When the seat needs replacing: If you can see deep pits, cracks, or the seat is loose, scrubbing won’t fix it. Buy a valve seat reseating tool or ask a plumber to replace it. A badly damaged seat is the most common reason a new washer leaks.
Step 6: Reassemble the Tap
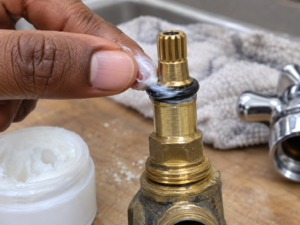
Reverse the steps:
- If your tap has an O-ring, inspect it for damage. Replace it if worn. If lubrication is required, apply a small amount of silicone plumber’s grease compatible with the seal material and the tap manufacturer’s guidance.
- Put the valve stem back into the tap body.
- Screw the headgear back on by hand first, then tighten it with the spanner. Snug is enough. Over-tightening can crack the tap body or the headgear.
- Fit the handle back on and secure it with the screw.
- Snap the decorative cap back into place.
Step 7: Turn the Water Back On and Test
Open the isolating valve slowly. You want to avoid a sudden surge, which can loosen parts you just tightened.
Turn the tap on and off a few times. Let water run for about 30 seconds, then close it firmly. Watch the spout for 2 to 3 minutes.
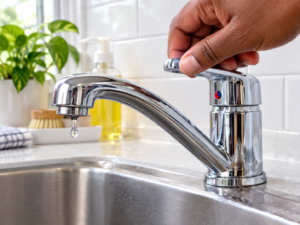
What the result means:
- No drip: The job is done. Wipe up and keep your spare washer.
- A small drip after closing: The washer may not be sitting properly. Turn the water off again, check that the washer is fully seated, and tighten the screw slightly.
- A steady drip after two attempts: The valve seat is likely the problem. Follow the seat steps above or call a plumber.
Common Problems After a Washer Change
The tap still drips after the new washer.
This usually means the seat is damaged, the washer is the wrong size, or the washer wasn’t fully seated. Check these three things in order.
The handle is hard to turn after the repair.
This often means the headgear was over-tightened or the stem is not sitting straight. Loosen the headgear slightly and check the alignment.
Water is leaking from the top of the tap when it’s on.
The O-ring or gland nut is worn. Tighten the gland nut gently first. If the leak continues, replace the O-ring.
The tap started dripping again within a week.
The washer was probably the wrong size, or the seat is rough. Take the washer back to the shop for a check, and inspect the seat again.
Cost and Time Breakdown
| Item | Cost information |
|---|---|
| Replacement washer | Prices vary by size and shop. |
| Replacement O-ring | Only needed if the existing seal is worn or damaged. |
| Basic tools | You may already have the tools needed for this repair. |
| Silicone plumber’s grease | Buy only if required for your tap’s seals. |
| Valve seat repair or replacement | Costs depend on the tap design and the damage. |
Prices vary by location, product quality, and hardware shop. Confirm current prices locally before purchasing parts or tools.
Time needed: 30 to 45 minutes for a first-time job, including reading through the steps. Experienced DIYers often finish in 15 minutes.
When to Call a Plumber
Call a professional if:
- The leak is at the base of the tap or in the pipe connections, not the spout
- The tap is a cartridge or ceramic-disc type and the cartridge is damaged
- The valve seat is cracked, deeply pitted, or loose
- The water pressure is very high, which causes repeated failures
- The tap is part of a concealed or wall-mounted fitting you can’t safely open
- You’re not comfortable working with pipes, or the isolating valve doesn’t work
A plumber can also check the pipe connections and water pressure if you’re replacing taps regularly. Repeated washer failures are often a sign of high pressure, which a plumber can fix with a pressure-reducing valve.
Conclusion: How to Fix a Leaking Tap
A dripping tap is one of the most common and cheapest home repairs. With the right washer and about 30 minutes, most people can stop the drip and save water. Keep a few spare washers at home, since they wear out over time, and check your taps every few months. Catching a small drip early keeps a simple repair simple.